
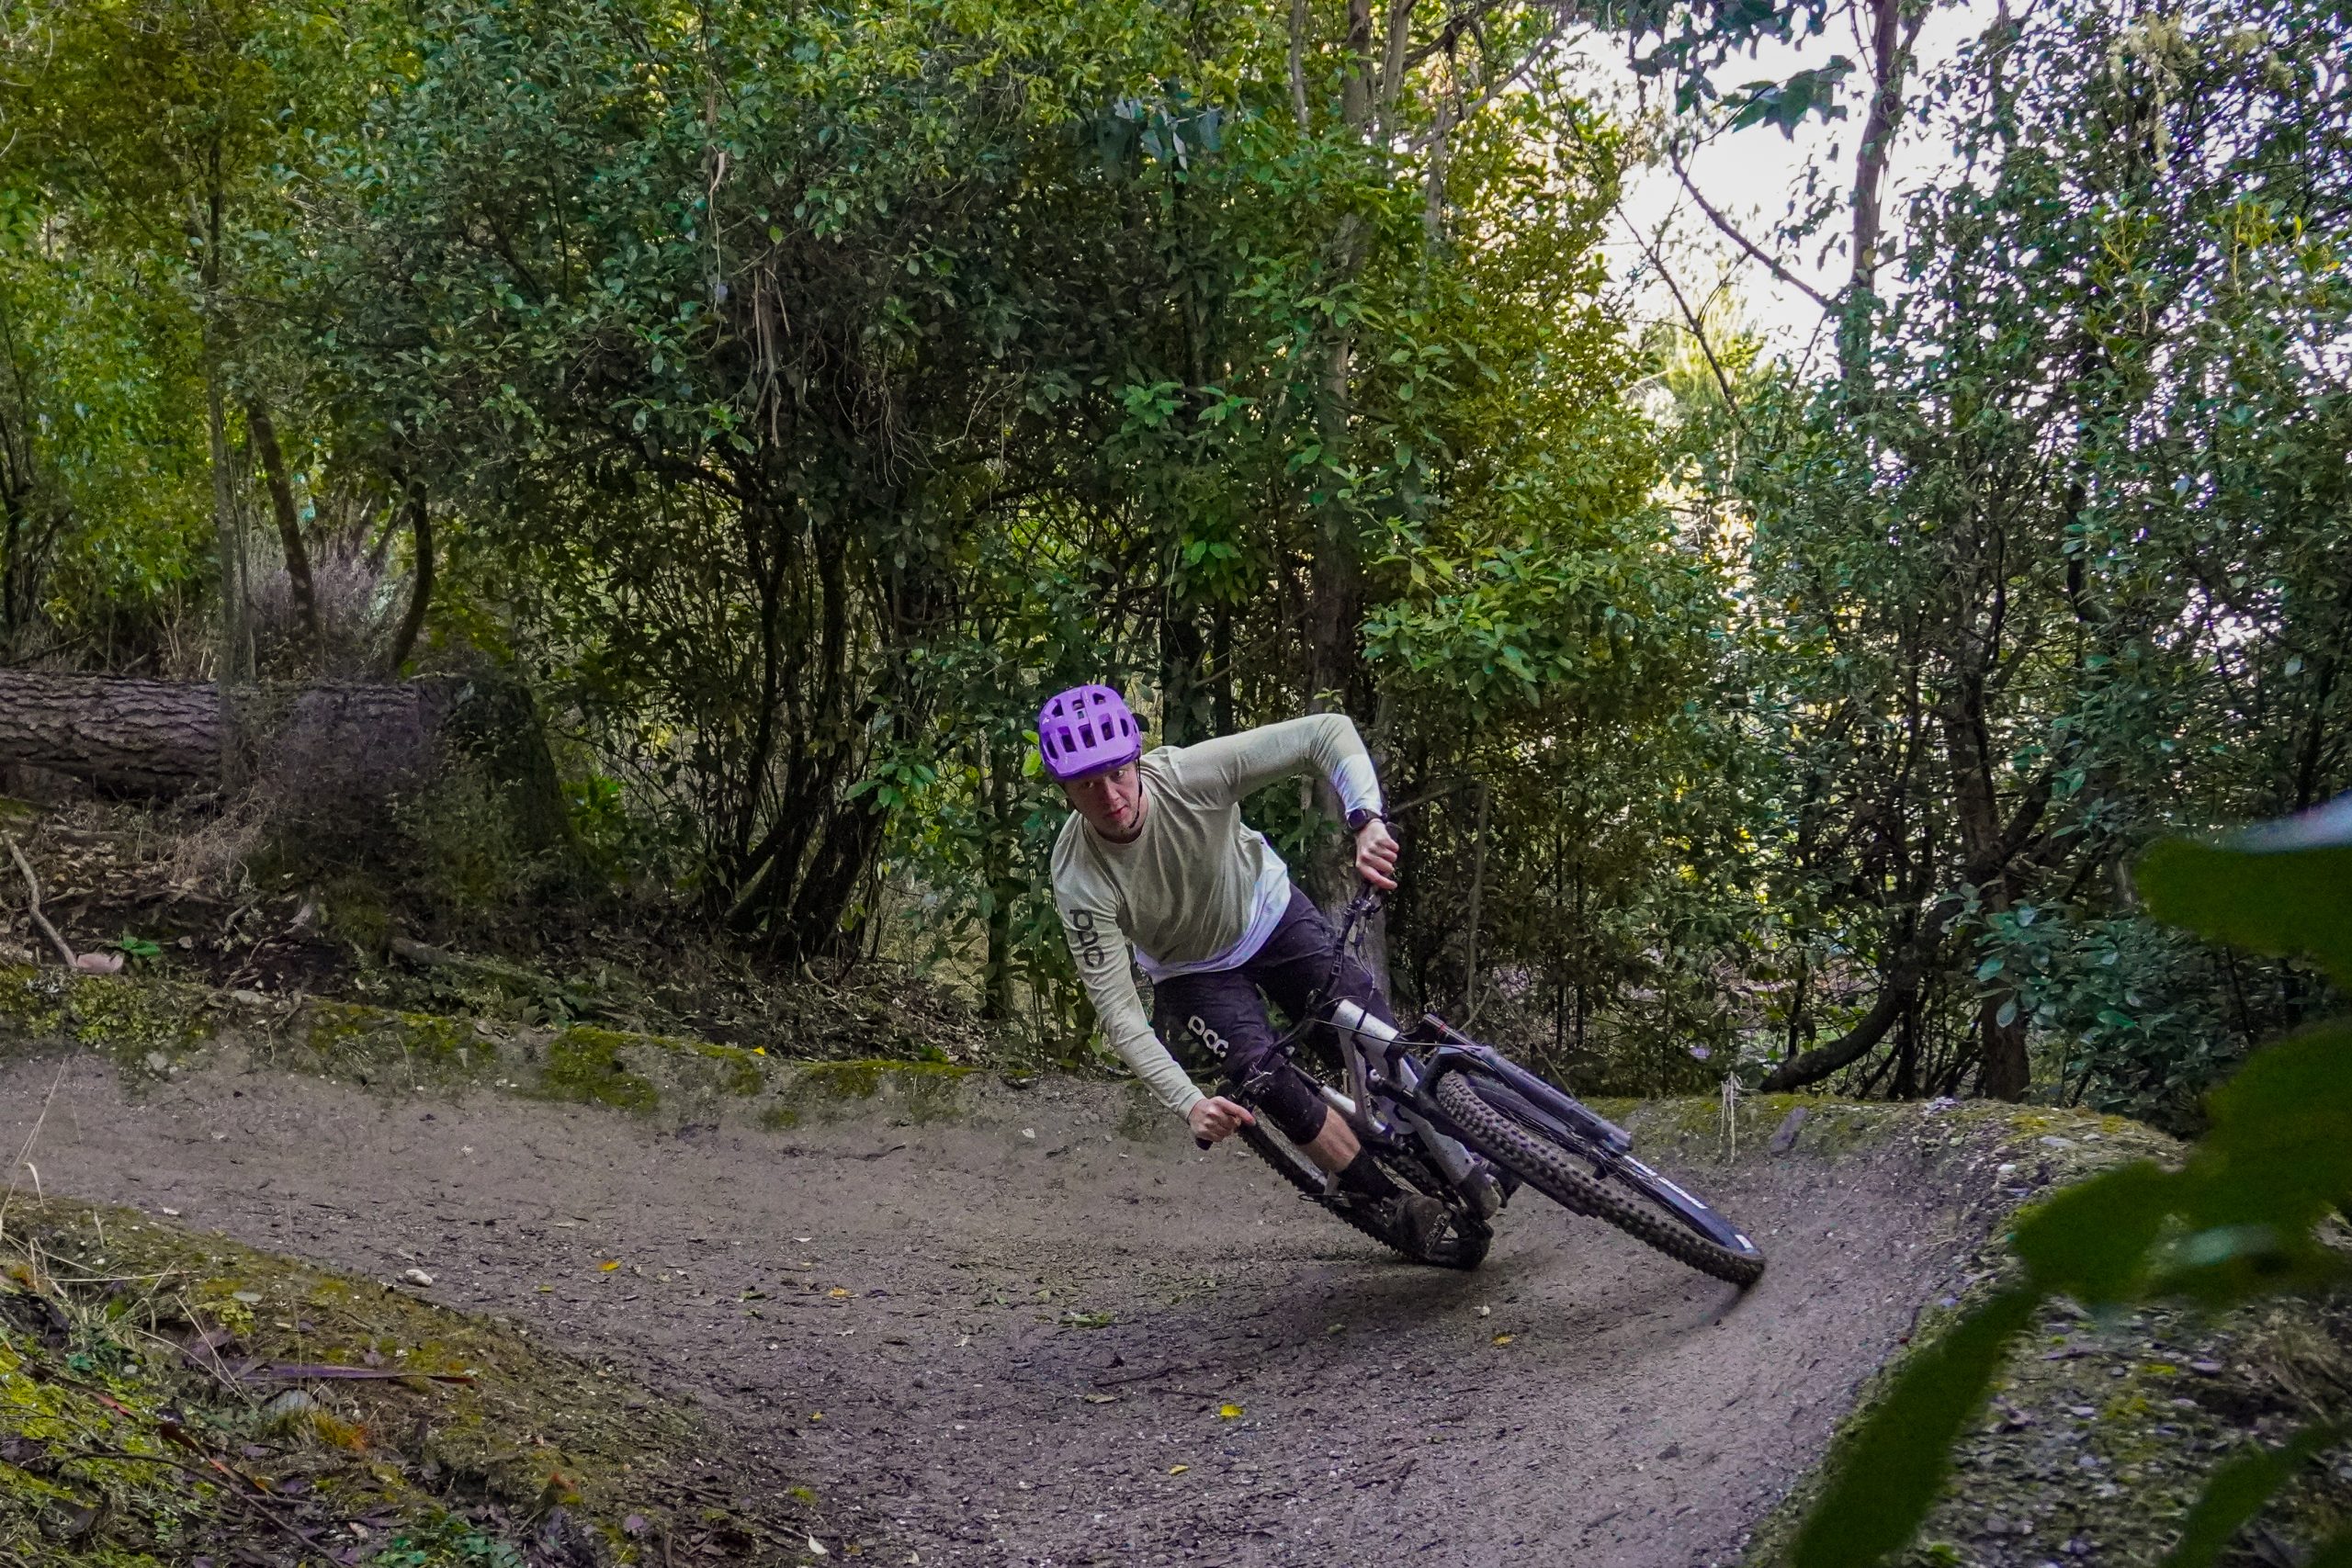
RIDE SKILLS: BRAKING IN CORNERS
Everyone does it, here’s how to do it properly
Rory Bingham, Onward MTB Coaching
In this article, I’m going to explain why and how to properly use your brakes to optimise speed and control through corners.
There’s a commonly held misconception that you should not brake in corners. This simply isn’t true. Let’s begin by rephrasing that notion: brake as little as possible in corners.
No-braking through corners is rare and only possible in some circumstances. In every other instance, there is a way to brake that improves your cornering.
For context, this is an advanced braking technique that requires a bunch of practice to burn into your muscle memory. Like any tool, the more you use it the better you’ll get with it.
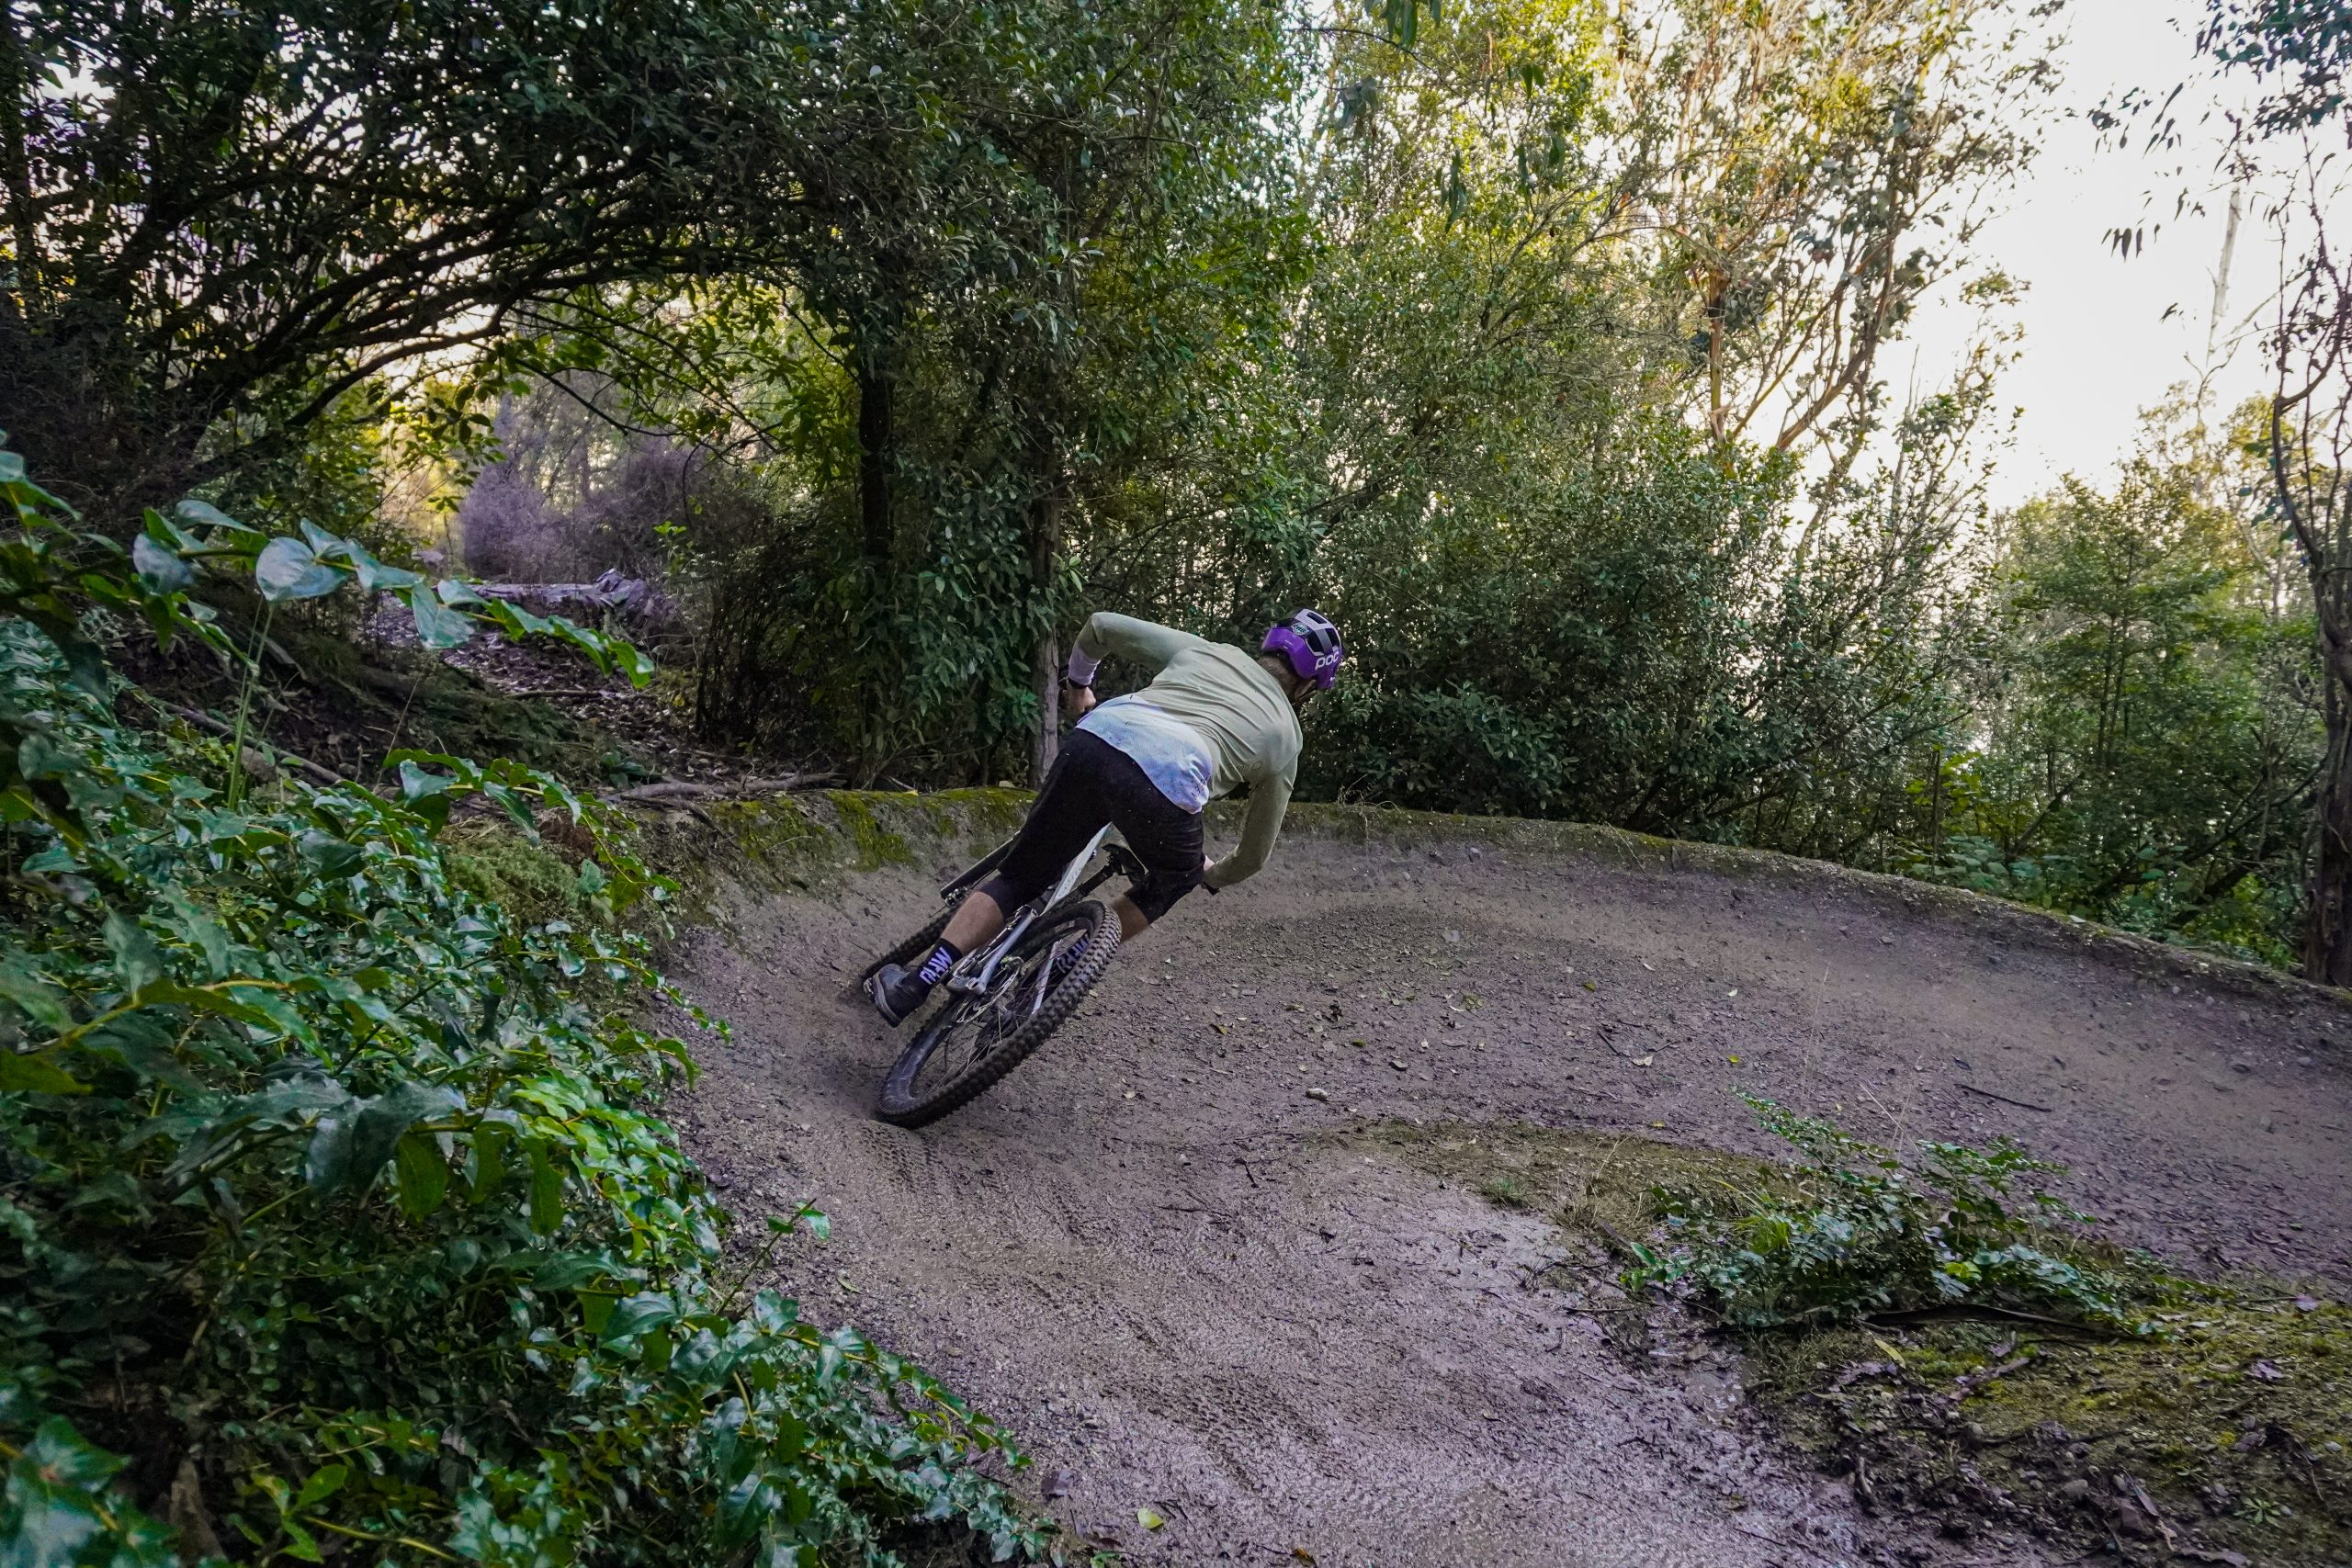
Controlled and uncontrolled braking
The issue that I find riders struggle with is sudden and heavy braking events in the middle of turns. This is usually because they have either; a) arrived at the turn with way too much speed, or b) their speed has increased too much through the turn.
Essentially, it’s panic braking to stay on-track.
This happens because riders are either trying to avoid braking and so under-brake, or, they don’t have any effective strategies to deliberately apply to their braking—it’s just instinctive and reactive.
Tyres aren’t good multi-taskers. They like to grip for one thing at a time —slowing down or turning. Asking them to do both in the middle of a turn is a tall order. This is most important for the front tyre (and front brake), where most of our direction control happens.
As you apply your front brake, the front wheel gets heavier as your mass gets pitched forward. The harder you pull the brake, the heavier the wheel gets. This can create a spike in pressure into the front wheel, which isn’t an ideal thing to happen mid-turn while the front tyre is leant over. At the extreme end, it will eventually reach a traction limit and let go.
Instead, we want the pressure through our front wheel to be as consistent as possible to produce the most predictable grip. Leaving the front brake alone helps achieve this, especially for corners where we don’t have much traction (flatter and loose-surface corners).
We’re all familiar with the effect the rear brake has on grip too—best to leave the skids for the kids.
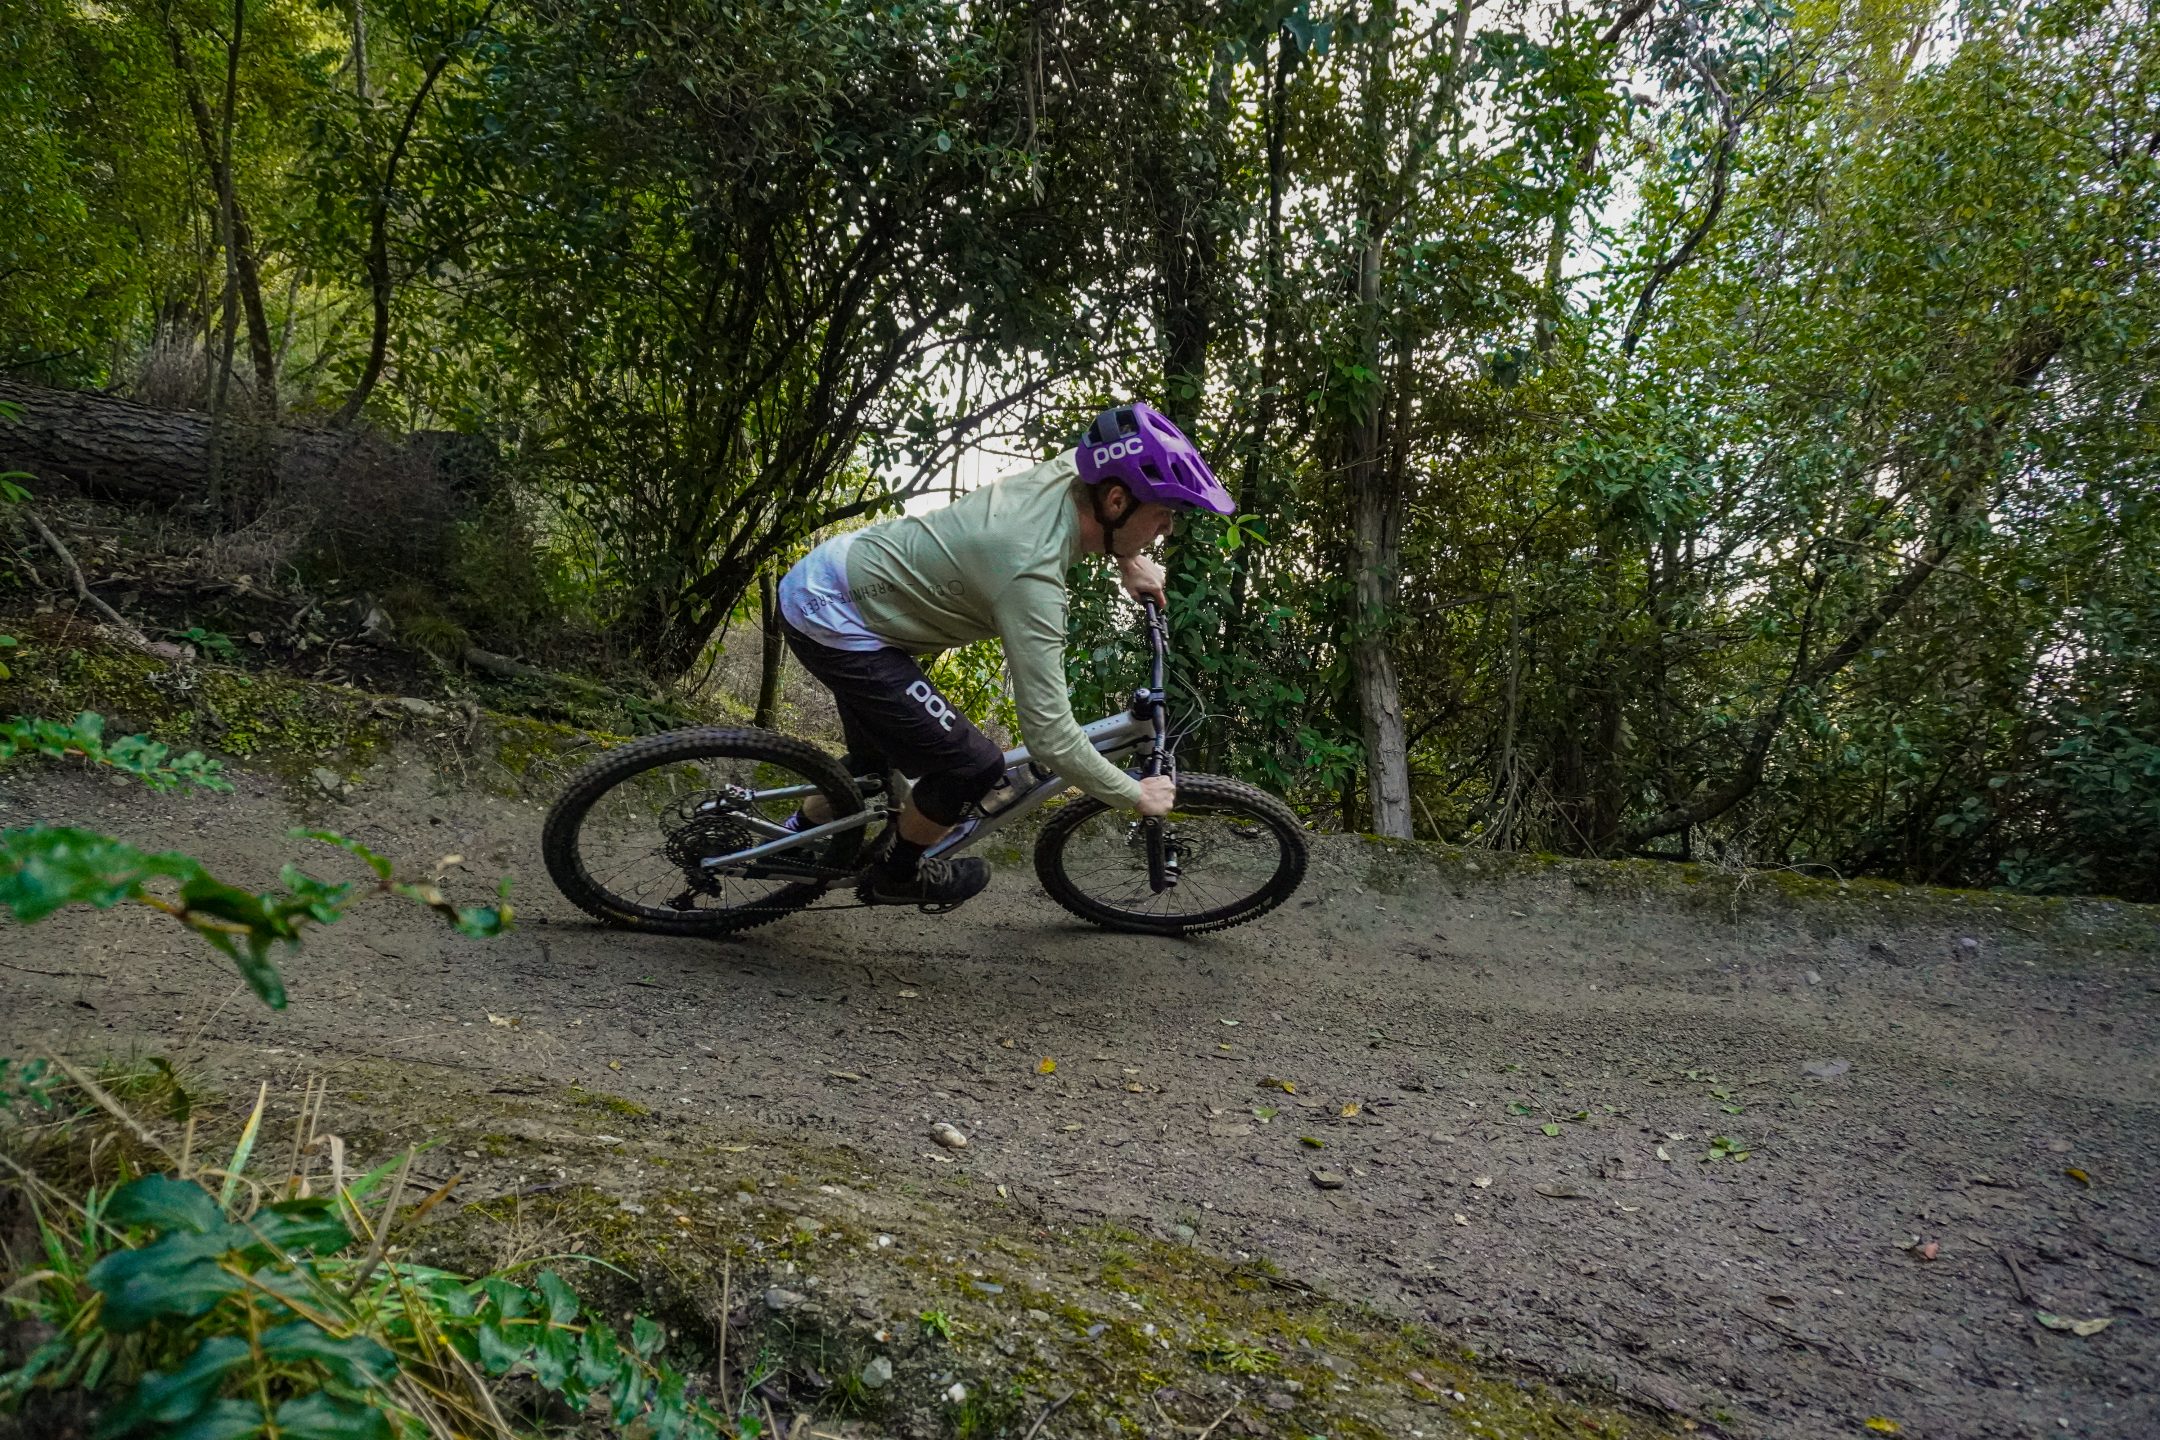
“The reality is we often need to brake to stay in control of our speed and direction. The key is to do it the right way.”
Stability
Two things are at play here. First, rider stability and second, bike stability. Again, the front brake has the greatest influence here.
As mentioned above, the front brake will pitch you forward. You will need to resist and counter these forces to stay centred, otherwise you’ll be forced out of position and de-stabilised.
Resisting these forces requires you to brace against the bike, which locks up your muscles and mobility. This isn’t good, because that mobility is vital to cornering movements like leaning the bike.
If your weight has shifted forward, your bike’s geometry will be affected too, compressing the fork, unweighting the rear tyre, oscillating the headtube angle and bottom bracket height, making the bike handle unpredictably.
When the bike is turning and leant over, braking forces also make the bike want to stop leaning and “stand up”. This can make it hard to maintain a consistent lean angle, leading to under- or over-steer.
The reality is we often need to brake to stay in control of our speed and direction. The key is to do it the right way. Whether it’s for improving control or chasing milliseconds, good braking patterns will make you a better rider.
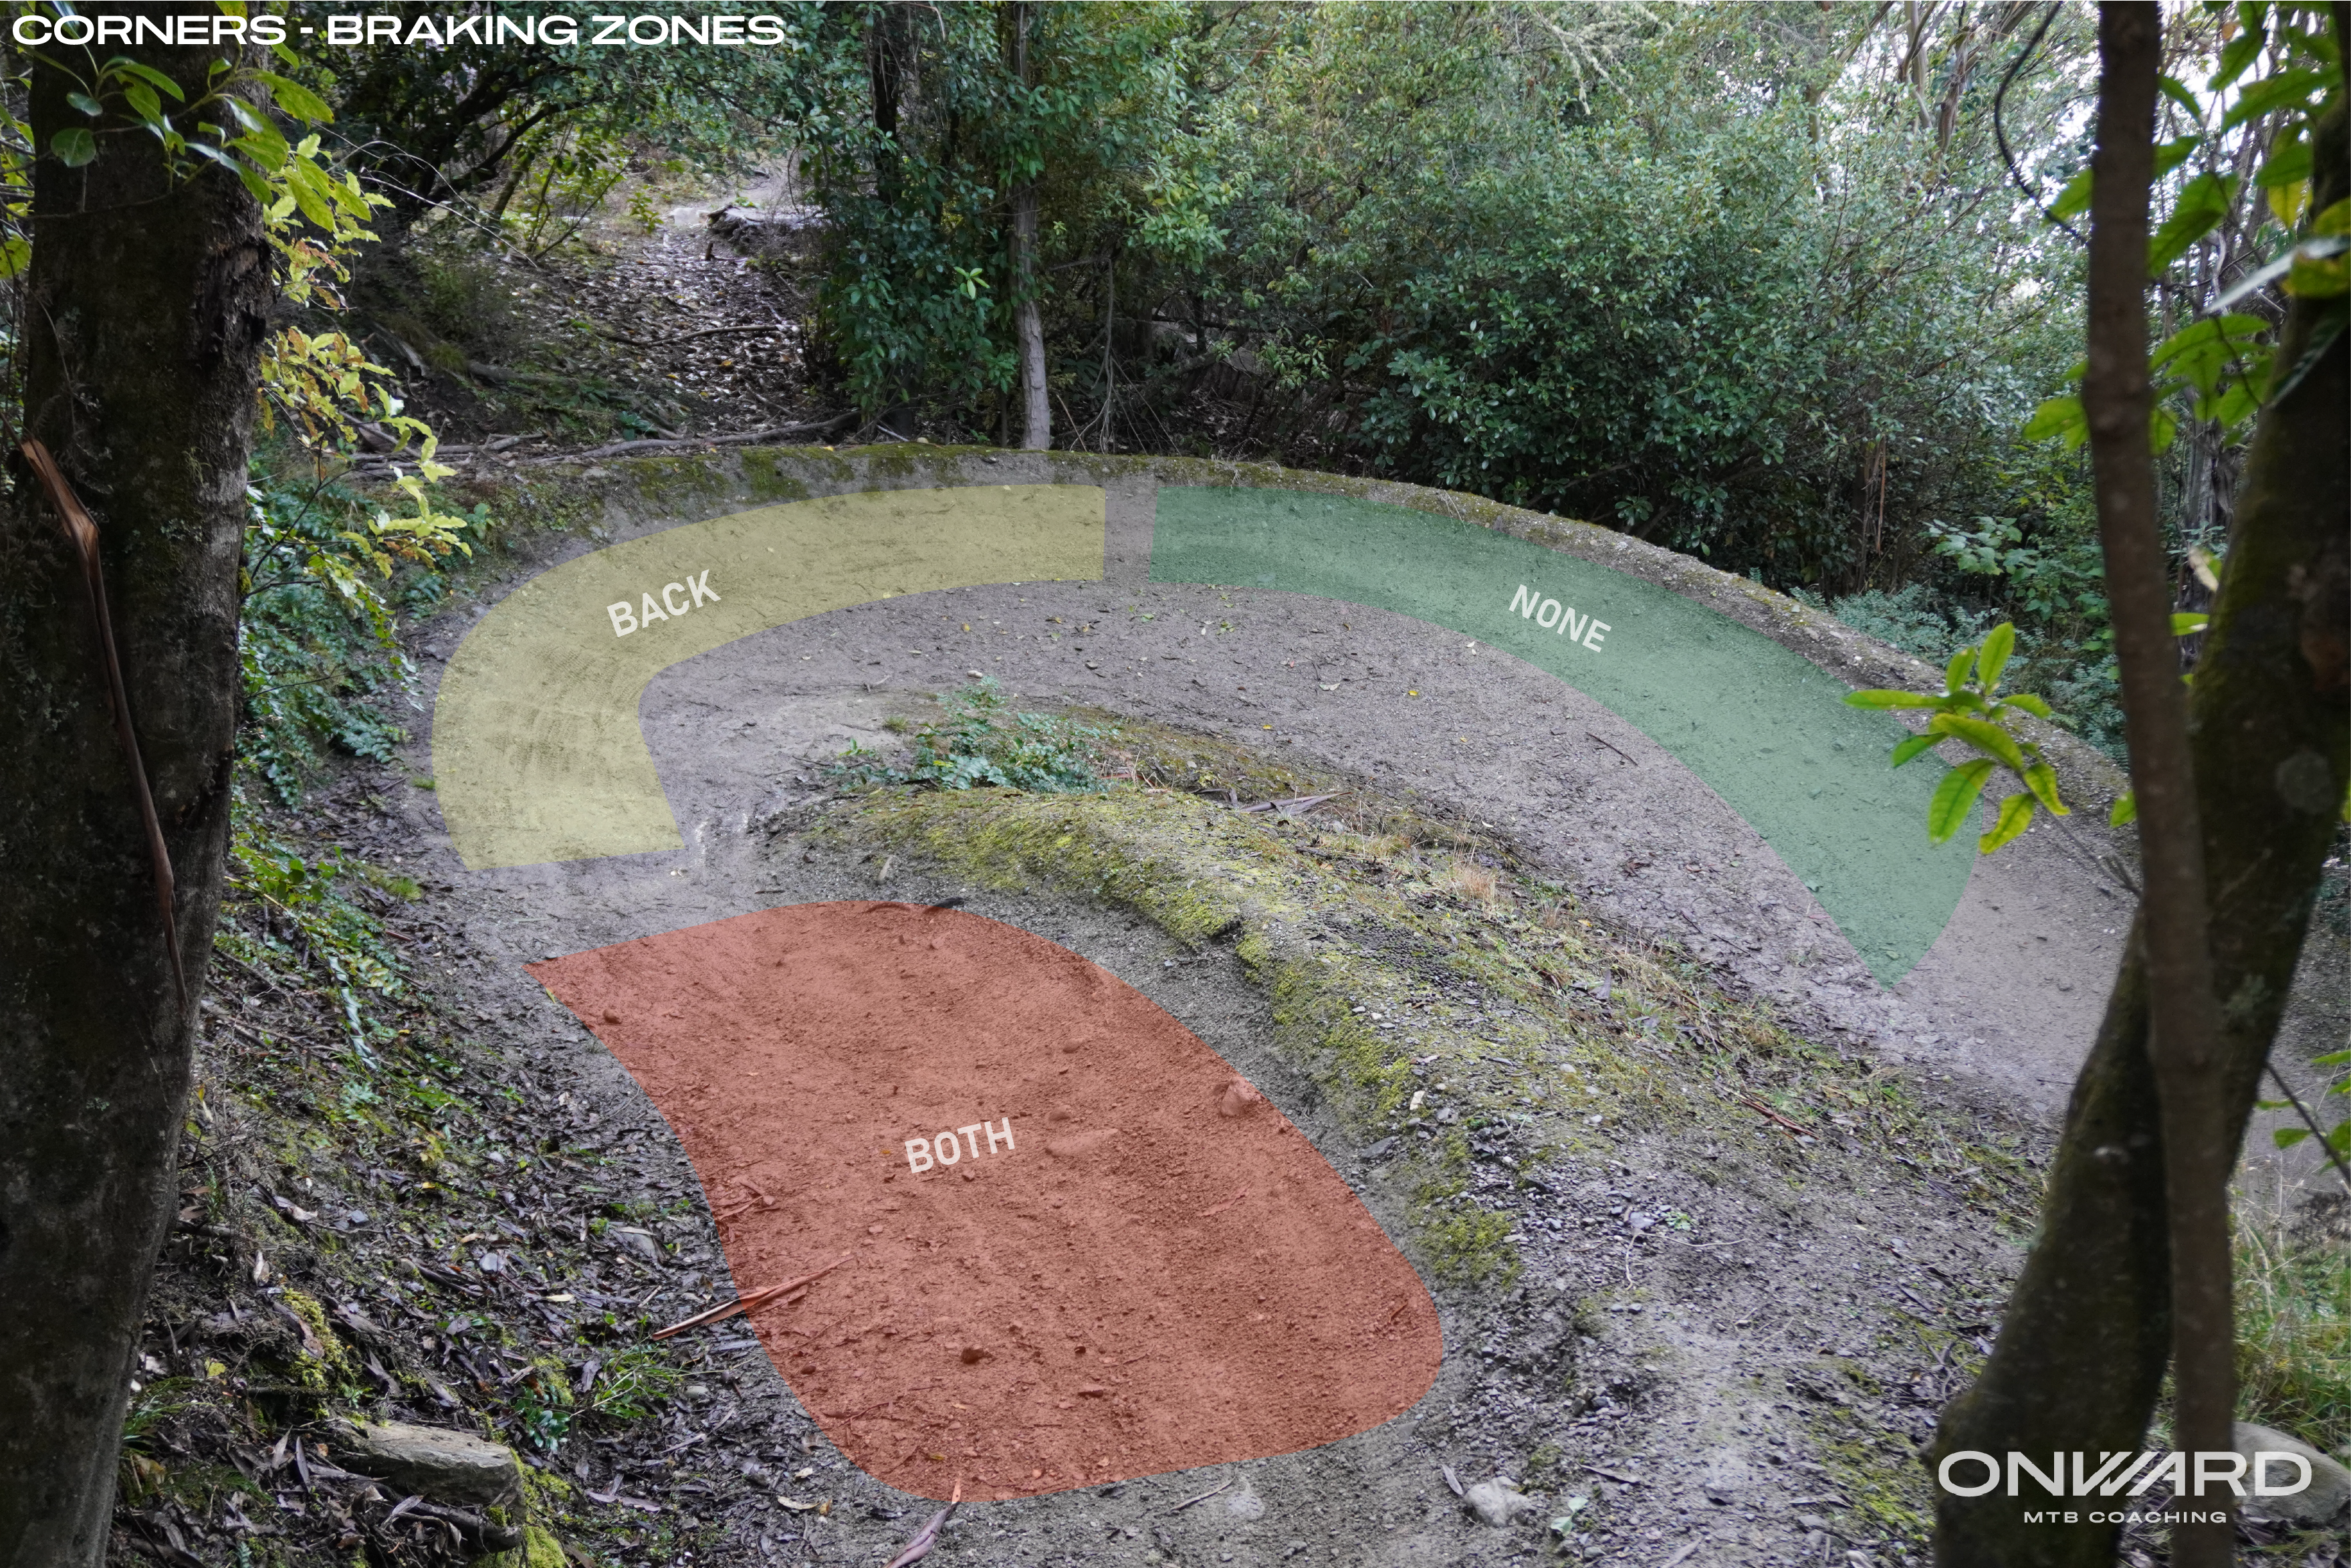
Braking zones
Here’s a simple strategy you can use for speed control in corners, leading to easier direction control. It lets you prioritise front-wheel grip and improves your stability through the turn by being selective with your front and rear brakes.
Both brakes zone
Use both your brakes before the corner to slow down.
Brake enough so you arrive at the corner at a comfortable pace. This buys you valuable time to correctly initiate your cornering movements. The bike isn’t leaning or steering yet, so get stuck into that front brake to scrub speed and slow down.
The more you need to slow down, the more you’ll need to brace with your arms and legs to resist the braking force pitching you forward. Drive the heels down and be strong with your arms to stay centred as you begin your cornering movements.
Back zone
If you need to control your speed in the turn, lightly drag your rear brake so you don’t speed up too much. Switch to this phase when the bike has started leaning and is no longer upright.
Only using the back brake leaves the front wheel free to grip the ground. This provides predictable and trustworthy front wheel grip. As the back brake is trailing behind us, a light drag won’t de-stabilise your position much either. The bike may want to stand up a little, but this is much more manageable.
Remember, use this back phase only if you need it, otherwise proceed to the “none zone”.
None zone
When you feel comfortable, get off the brakes and let the bike roll to complete the turn.
Take advantage of the unrestricted mobility you’ll have to move on the bike, get the eyes up and looking down the trail. This gives you more fluidity and momentum in the exit of the turn.
“When you feel comfortable, get off the brakes and let the bike roll to complete the turn.”
Considerations
- Go slower at first to acquire this braking pattern. You’ll be able to feel it when you’ve got the zones right.
- Depending on the speed, shape and size of the corner, how much you brake in each zone will change. A long, flat, dusty corner after a chute will require different amounts of braking to a huge bike park berm with loads of support.
- When you transition into each zone will change. “Both” will always be before the corner, but the “back” and “none” zones are very context dependent. The point at which you can access the golden “none” zone will vary—it’s fluid, not rigid. It takes experimentation to tune into the nuance of each corner—practice!
- Once you have the pattern ingrained, you can use it to deliberately change the zones to find different cornering outcomes—braking late to square off turns, braking early to access inside lines etc.
- A tell-tale sign of poor speed control in corners is getting pushed outside and up the turn or exiting the turn too wide. Brake more in the both zone, or keep your speed in check with the back brake for longer to correct this.
- Expert level trails (Grade 6) have corners that are so steep that this strategy becomes limited—the back brake is only helpful until it locks up and you skid. The strategy shifts to using the front brake as gradually and lightly as possible in these instances. Bear this in mind.

BrakeAce data
Here’s an extract of my own braking practice using BrakeAce’s braking data acquisition on Thingymajig trail at Skyline MTB Queenstown. From the different colour lines, you can see my exact brake usage through the corner in each of the “both”, “back” and “none” phases.
Having this sort of insight is valuable for unveiling the truth about what you’re doing with your fingertips. Riders often have a hard time mentally processing/interpreting what they are doing with their brake levers, because there is so much other stuff going on with riding. It’s clear to see with this data acquisition—how cool is technology!
Enjoy!
I’m Rory, head coach and owner of Onward MTB Coaching. I’ve been coaching for 8 years and a passionate rider/massive bike nerd for 20+ years. Based in Queenstown, we strive to offer the finest coaching experience in New Zealand. We’re proud to work with elite to beginner riders of all ages to improve their riding to meet their goals. I am sponsored by POC Sports and RAAW Mountain Bikes.